
Connect Vee3 MCP to Cursor
Published: July 8, 2026
Ask your agent
RecommendedCopy and paste this into Cursor chat and let the agent walk you through setup.
Agent Instruction
Add to Cursor
Click Add to Cursor on the same device where Cursor is installed.

Option 1
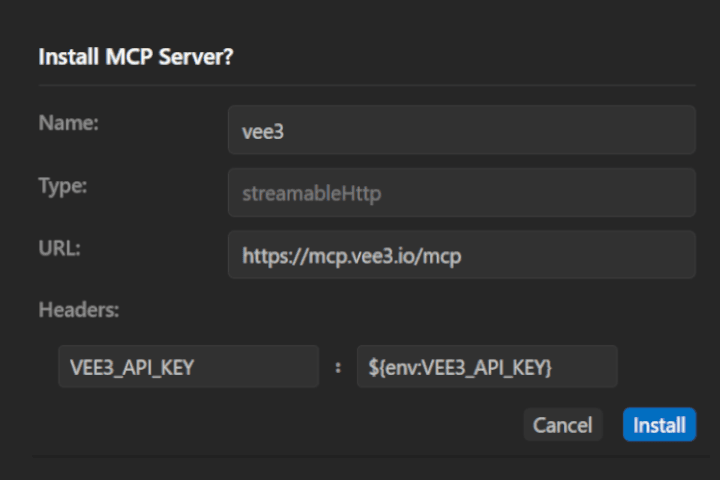
Run one of these, then restart your terminal and install.
macOS / Linux
Paste into Terminal (adds to ~/.zshrc)
echo 'export VEE3_API_KEY="your-api-key"' >> ~/.zshrc
Windows
Paste into PowerShell or Command Prompt
setx VEE3_API_KEY "your-api-key"
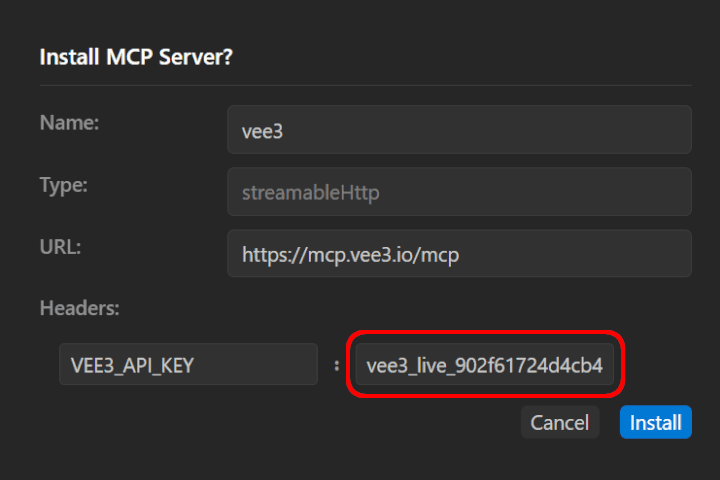
Restart Cursor if tools do not appear right away.
Manual setup
Use this if you are on a different machine than the dashboard, or you prefer editing config yourself.
- Open Cursor Settings → Tools & MCP.
- Select New MCP Server / Add a Custom MCP Server. Cursor opens
mcp.json(usually~/.cursor/mcp.json). - Add a
vee3entry undermcpServers. Merge into the existing object if you already have other servers. - Save the file and restart Cursor if tools do not appear.
Do not commit literal API keys—use ${env:VEE3_API_KEY} when sharing config.
mcp.json
Paste into ~/.cursor/mcp.json, or merge the vee3 block into an existing file.
{
  "mcpServers": {
    "vee3": {
      "url": "https://mcp.vee3.io/mcp",
      "headers": {
        "VEE3_API_KEY": "${env:VEE3_API_KEY}"
      }
    }
  }
}
Verify the connection
Ask the agent to call meta-tools.list_groups or search the catalog with meta-tools.search. If tools return data, the connection is working.
Customize which tools appear
From the dashboard, open Customize MCP to turn capability groups on or off. Changes apply to your MCP server on the next connection.
Next steps
- Browse the capability catalog for what you can call.
- Read the docs for per-tool parameters and examples.